Setting up an Android Development Environment Part 1
How to set up a development environment on Android devices for Nigerian developers dealing with power challenges
By Seun Akinwunmi ·
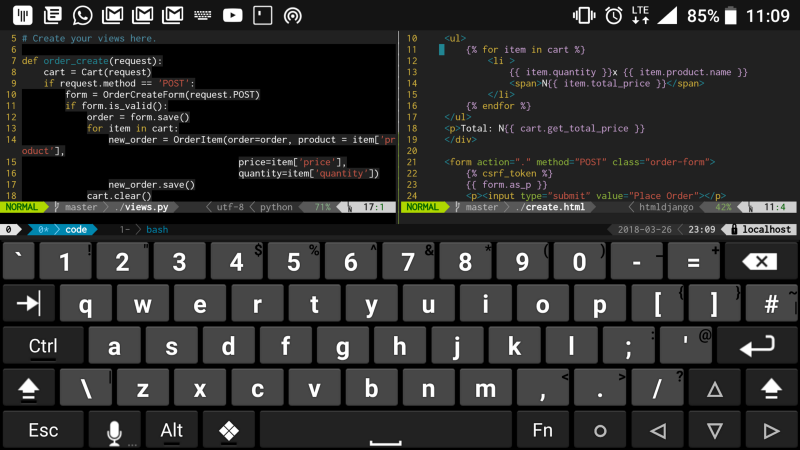
It's hard living in Nigeria especially if you're a beginner developer trying to gain the skills you'll need to get that awesome job, a freelance developer or a remote worker without much resources.
As a Nigerian, you'll have challenges with power. You'll have to run predictive models in your head trying to calculate where you'll have the best probability of getting electricity while carrying your heavy laptop.
In order to do some productive work, you'll lose sleep and take so many health risks.
Therefore as a programmer and problem solver. I decided to tackle this challenge; Most of the programmers I know use Android devices.
I personally use two so it would be great if I could have a development environment running on Android. I could utilize the phone's portability and battery capacity to increase my productivity.
After trying different solutions, I was able to set up a reasonable development environment on my phone. I would be sharing my solution in this 3 part series.
Requirements
• Android device (5.0+) • 2GB+ RAM (recommended) • Good internet connection • Basic terminal knowledge
Setting up your development environment
The solution involves using Termux, a powerful Android terminal emulator that provides a Linux environment on your Android device. Here's how to get started:
- Install Termux
- Download from F-Droid (recommended) or Google Play Store
- Grant necessary permissions
- Update packages
``bash pkg update && pkg upgrade ``
- Install essential tools
``bash pkg install curl wget git vim nodejs python ``
- Set up storage access
``bash termux-setup-storage ``
This gives you access to your device's shared storage, allowing you to work with files across apps.
Basic configuration
Configure git with your details:
git config --global user.name "Your Name"
git config --global user.email "[email protected]"
Set up SSH keys for secure access to your repositories:
ssh-keygen -t rsa -b 4096 -C "[email protected]"What's next?
In Part 2, we'll cover essential terminal commands, Vim basics, and tmux for managing multiple sessions. Part 3 will focus on optimizations and advanced configurations to make your mobile development environment truly powerful.
Stay tuned!
Tags: Android, IDE, vim, termux, tmux